- Begin with your curb returns as Polylines.
- Go to the ribbon à "Feature Line" à "Create Feature Line from Object" and select both curb return polylines.
- After selecting both, hit "Enter", pick a style, erase the existing entities (optional), and put it on a site.
- Assign the elevations from the finished grade (You can also change the grade of the curb return afterwards by selecting the feature lines and using the "Set Grade/Slope between Points" tool.)
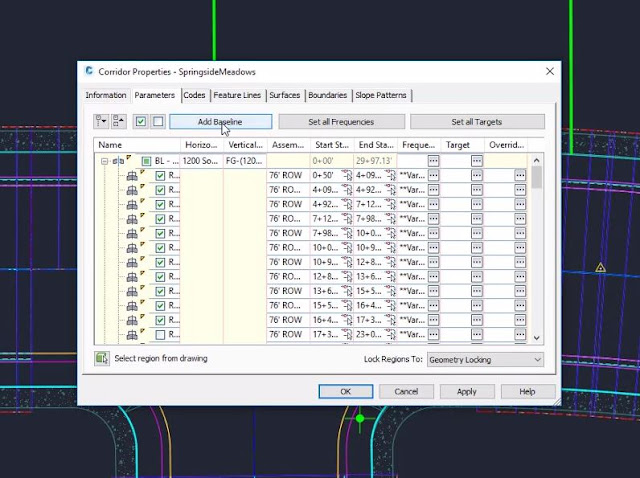
- Select your corridor à right click, select "Corridor Properties" à "Parameters" tab à "Add Baseline" à
Select "Feature Line" and name each curb return à right click on your new baseline(s), "Add Region" à select your assembly.
- If this happens (don't worry, it's common):
You can select a different assembly or change the direction of the feature line: select feature line à "Edit Geometry" in ribbon à click "Reverse".
- You will then want to target some items. Select corridor à "Edit Targets" in ribbon
à click inside the region à target for width (select 2 lines: north, south and east, west)
and target for elevation. This will target both alignments and profiles.
- Repeat steps 5 - 6 for the opposite curb return. When you reverse the feature line, match the parameters: Select corridor à "Match Parameters" in ribbon and match the parameters from left to right and hit "Enter".
This applies the same targeting to the north, south and east, west lines so you don't have to do it twice.
And there you have it! For more explanation on this, feel free to visit our YouTube channel and watch the full tutorial there!


Comments
Post a Comment